Fringe is all the rage right now, I LOVE it.
You can easily buy it already premade by the yard at your favorite fabric stores,
but I’ve never been able to find it the way I like it,
as seen in the picture below..

Most of the store options gives you that flapper-esqu fringe trim.
Which is fun, too. But I want something more boho feeling…
So I have a quick tutorial to show you how to recreate this fringe technique!
*When I say quick, the “how to” is quick.
The making takes a few hours – BUT TOTALLY worth it.
For my non sewers, this is for YOU, too.

For this DIY Fringe Tutorial, you will need:
- thread/yarn. I used Patons Yarn which can come in a variety of colors and can be found at Michaels (lot’s of colors found in store)
and Joann Fabrics, it’s a 100% mercerized cotton. Which has a great hand but you will most likely not throw it in the dryer as it will shrink,
and most likely tangle as with any fringe. I grabbed one skein of yarn for this project. - Yarn needle, like this one.
Directions.
- For my project, “one strand” consisted of 6 x 20″ cuts of yarn.
- Combine the 6 to make one strand (pic. 1).
- Thread the strand through your yarn needle.
Insert needle through your fabric (pic. 2) and make a loop (pic 3). - Holding the loop, fish the needle out of the fabric through the hole in fabric
made by the needle (pic. 3). - Put ends of strands through the loop and pull until it tightens a loose knot,
as seen in pic. 4.
- Make those strands along the entirety of your desired length of your garment,
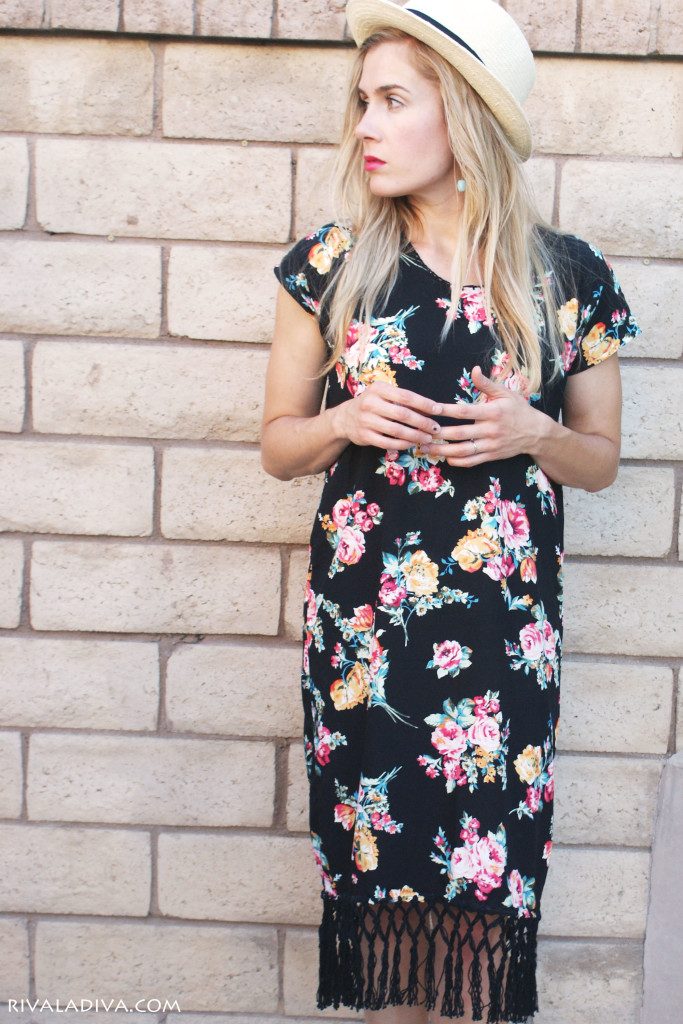
like I did along the base of my dress. - Making the Fringe, see diagram below:

- Last step is to trim and clean up each strand.
Using a ruler, measure out the the distance from the last knot
to your desired length of your strand and trim off the excess…
I had about 3″ of length and trimmed off any extra 1/4″ – 1/2″ of extra thread tales.
Washing & Care: As will most cotton fringed garments, I would was the trim in cool water on the gentle cycle in your machine or hand wash. This will help avoid severe tangling. With the fringe being 100% cotton, the cool water will help prevent shrinking.
That’s it! Pretty simple, right?
I have to admit, it is a little time consuming but as I said, the result is completely worth it!
It’s also gives you some insight to the value of a good fringe trimmed garment.
So grab a naked trim-less dress, top, kimono, or whatever, throw in a movie and start tying!
I’m working on a tutorial and free pattern for this caftan dress, follow my social tabs on the sidebar to stay up to date for that latest post!
But if you are looking for a similar caftan and cannot wait, visit my DIY Hermes post.
xo/Riva

Hat: Old Navy,
Sandles: Ross Stores (similar),
Clutch & Earrings: My Shop,
Dress: Future post and free pattern, coming soon!

Spreading the word one link up party at a time, you can visit the full list: HERE.


Leave a Reply